How-To
How to upgrade windows 32 bit to 64 bit
This article is about how you can upgrade windows 32 bit to 64 bit. If you are still using 32-bit windows you might be having trouble running latest games and software which only support 64-bit operating systems. I will show you how you can upgrade your PC to 64-bit operating system without loosing your files in the current windows.
Why you need to upgrade to 64 bit operating system?
You must be wondering what are the differences between 64-bit operating systems and 32-bit operating systems and does it worth it to upgrade to 64-bit OS. 32-bit and 64-bit terms are refer to the processor architecture of your PC. 32bit operating systems will only allow your processor to perform 32bit amount of calculations at one time. Like wise in 64bit operating systems will allow processor to perform 64-bit calculations at one time. so In windows 64bit version windows will allow processors to handle large amount of random access memory or RAM more efficiently. this will allow software and programs to run more smoother and faster. That’s why most of modern games and software require 64-bit operating systems to run.
Is my computer capable of running 64-bit operating systems?
In order to run 64-bit operating systems your processor should be able to run 64-bit operating systems. Almost all the modern processors and motherboards support 64bit operating systems. but its better to check your computer support 64 bit OS. you can do this in few ways
One way of doing this is. Right-click on This PC and go to Properties. In this properties window, under system type, your current windows version and your processor type is mentioned. if it says x64 based processor then your computer is capable of running the 64-bit windows version.
Alternate way of doing this is got start menu search box and search the word About your PC. then go to about your PC menu. There you can see your processor architecture and current windows version. if it says


if your processor is 32-bit (x86) . you’ll need to upgrade to 64-bit CPU, and your motherboard should also support 64-bit processors. its will be costly as buying a new PC if you are going to upgrade your processor.
Does upgrading will i lose files in my hard drive
The question that most people ask is that will i loose my personal files and applications when i upgrade from 32 bit to 64bit. the answer is not simple since it depends on your current windows version and what windows you want to upgrade. currently most people using windows 7, so if you are using windows 7 and want to upgrade to windows 7 64 bit version. you can preserve all your Windows settings, personal files, and some of your installed applications (games and other software) after the upgrade. Some installed programs will not work after upgrade you will have to re install them.
Also hardware drivers such as WiFi and Bluetooth drivers and VGA card drivers will not be compatible with the new version of the windows so you will have to reinstall newer versions of those hardware drivers. so its better to make sure you have copy of all the main drivers you need for your computer. if you have any older windows version than windows 7 you cannot upgrade to 64bit without loosing any files. Its better if you backup all your important files to a separate hard drive or separate partition of you hard drive other than c drive, just in case if any thing goes wrong.
upgrade windows with bootable USB pen drive
if you are using windows 7 ,8 or 8.1 you can upgrade to 64-bit version of that windows directly . but you can not upgrade to windows 10 64bit version directly first you have to upgrade to windows 10 32bit version and upgrade to 64bit version.
Step 1: First thing you have to do is download 64-Bit version of the windows you want to install.
Step 2: then download Rufus software from the website. Plug a pen drive about with storage capacity of 8 GB. Open Rufus software and select the pen drive you want to copy windows setup. Then select the windows image file (ISO) you download in the first step. then click create disk.

Step 3: now restart your computer and press Delete key when your computer boot up to enter the bios setup. This key might be different in different computers. It will be shown in your boot screen. or you can find it from your motherboard manufactures website.

Step 4: after you enter the Bios setup screen. go to boot order section. Then change the boot order as USB removable device as your first boot device and your current hard drive (HDD). This step is really important set your boot device properly or you will run in to problems. Now save BIOS settings and exit.

Step 5: Now plug the bootable pen drive you created earlier and start you PC. Then your PC will be automatically boot with your pen drive and windows installation setup will be shown.
Step 6: now follow the instructions in the setup. And select upgrade option in the setup to upgrade to 64-bit version with out loosing your files. then the installation will begin. Allow installation to complete. system will restart few times during install.

Step 7: After the installation is complete, check whether all you computer peripherals are working properly . If not install their latest drivers.
This is how you can upgrade windows 32 bit to 64 bit. If you have any questions please leave a comment or send me a personal message thanks for stopping by.
Google cloud platform is one of the best places to host your website and it’s totally free for the first year. If you are new to web hosting, I think this is the best place for you to start. There are lots of features in a google cloud platform, but here we discuss only free WordPress hosting on a google cloud platform. Let’s start.
What you need…
- Google account (Gmail)
- Valid credit card
Step 01 – Setup Google cloud platform
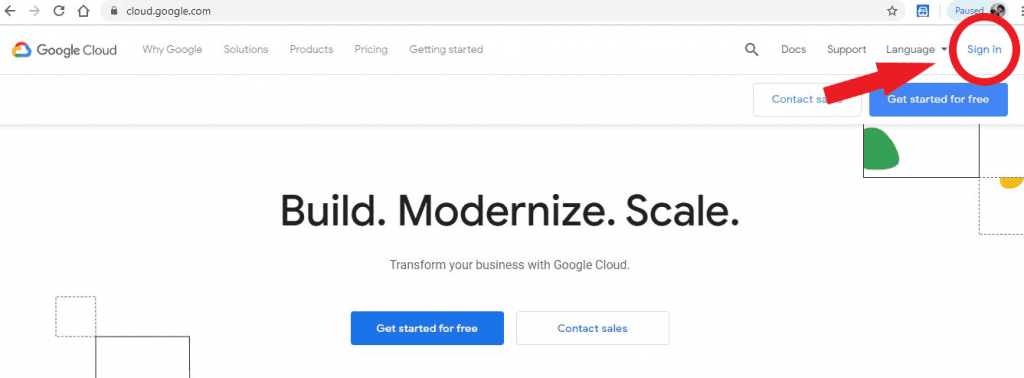
Go to cloud.google.com and sign in to it using your Gmail.
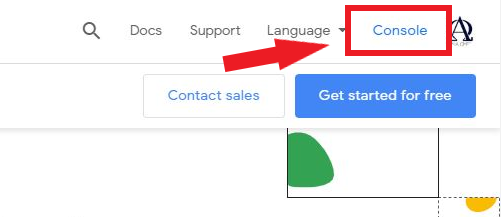
Then click on console and login to your google cloud console.
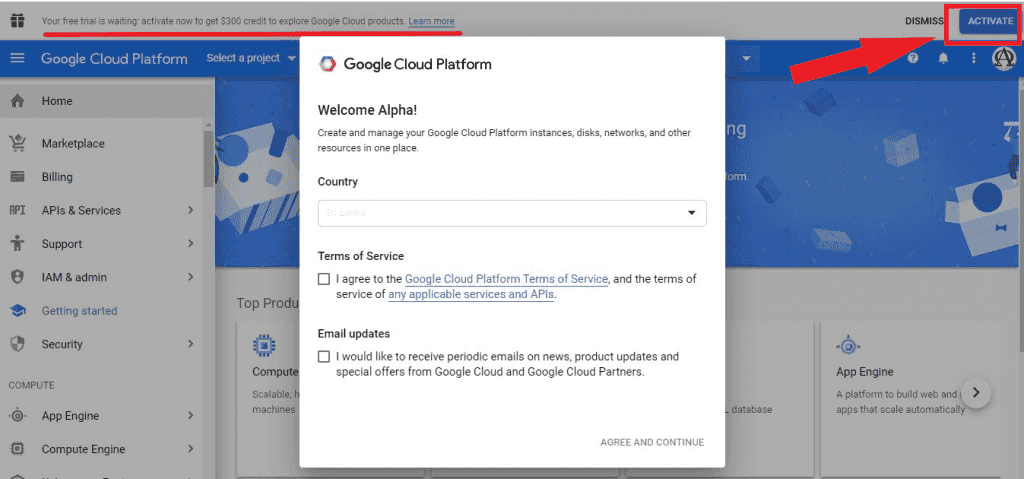
When you login, you will receive 300$ free credit to explore google cloud products for the first year. Maybe you would like to simply check out GCP’s breath, deploy some application of yours, learn about google cloud and machine learning capabilities. So you can use these 300$ credits to test all of them.
Then go ahead and activate the offer.
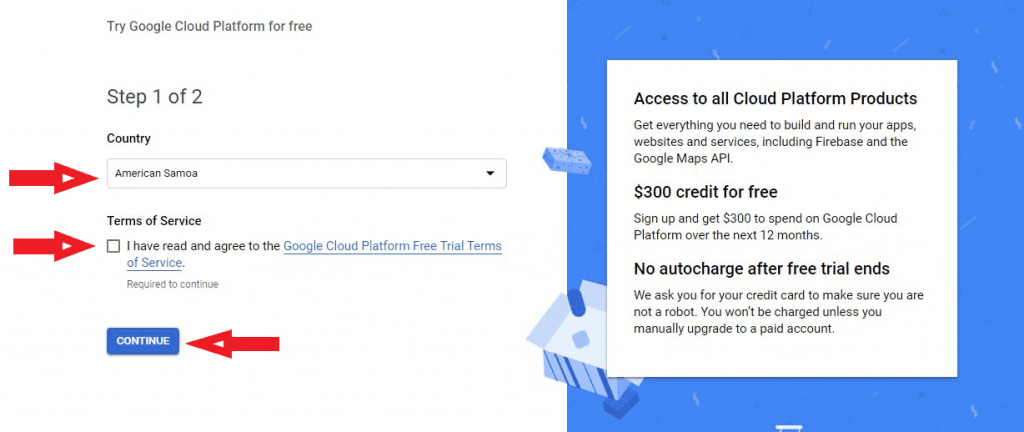
Select your country, agree to the term of service and then click continue
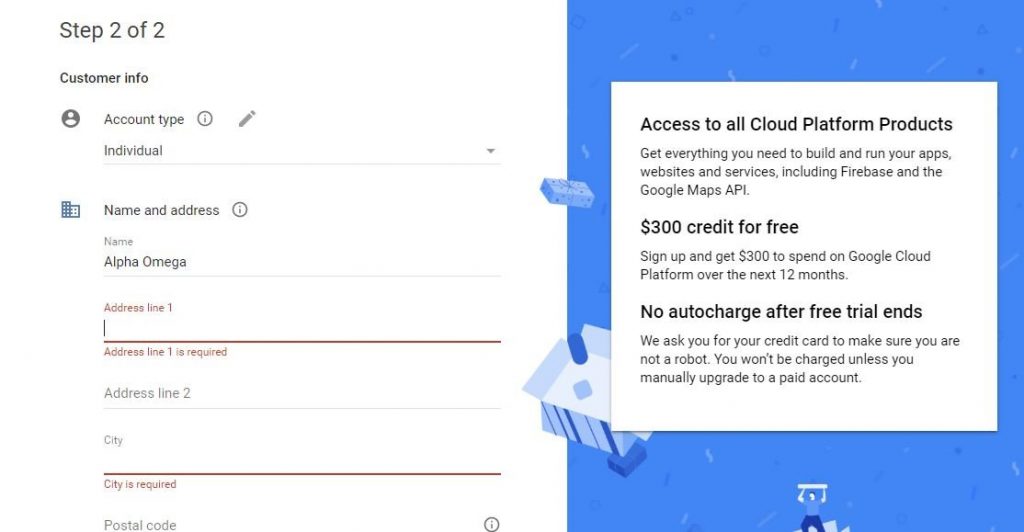
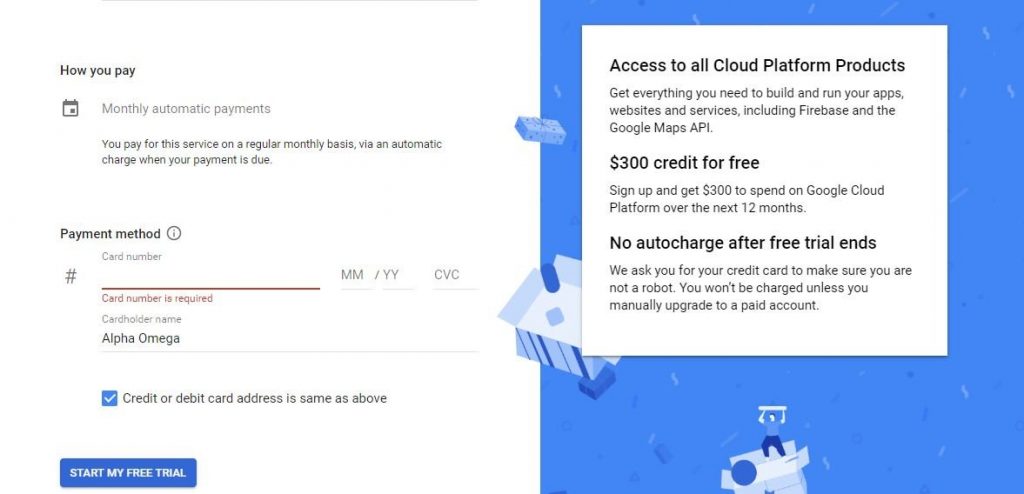
After that, set up your payment profile by giving your address and credit card details. Don’t afraid to give your card details because if you run out of credits you won’t be billed without your permission.
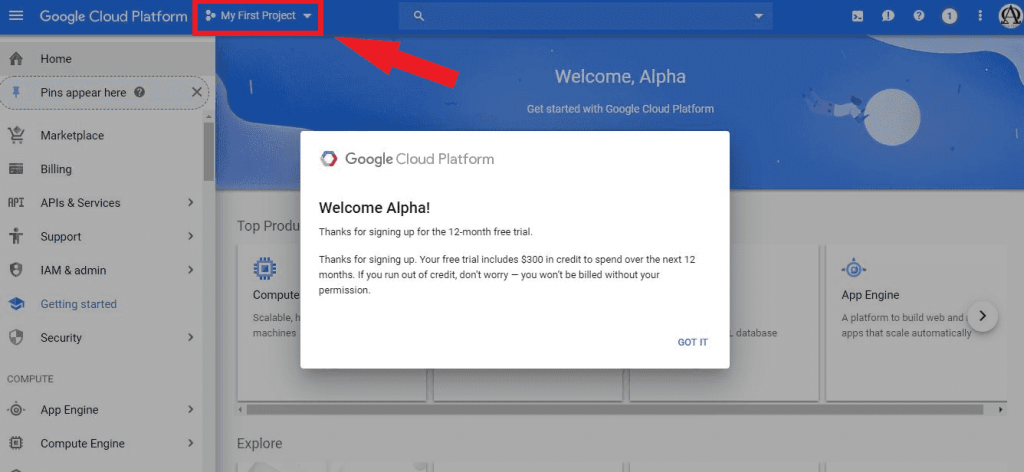
Congratulations …!! Now you are on the google cloud platform. This is a very simple dashboard and easy to understand for anyone. Lots of services are providing by this platform, but here we discuss only the hosting part. Go ahead and click on My First Project to create a new project.
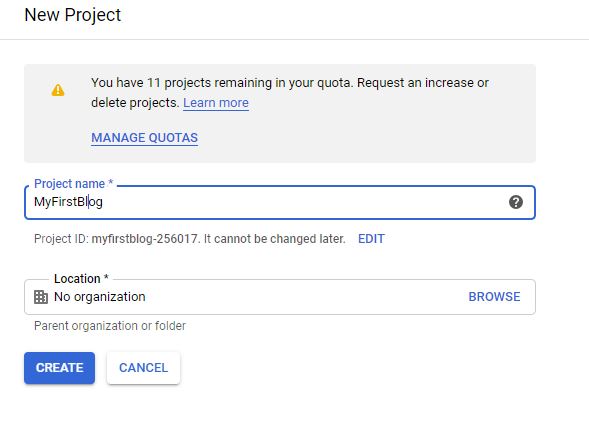
Then create a new project by giving a suitable name.
Ok, now you have your google cloud project. Let’s see how to deploy WordPress on a google cloud platform.
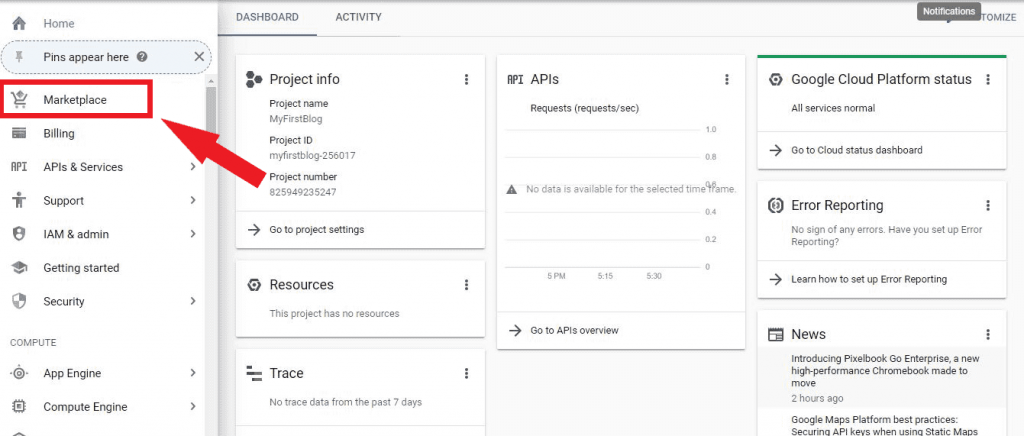
Step 02 – Deploy WordPress on Google Cloud Platform
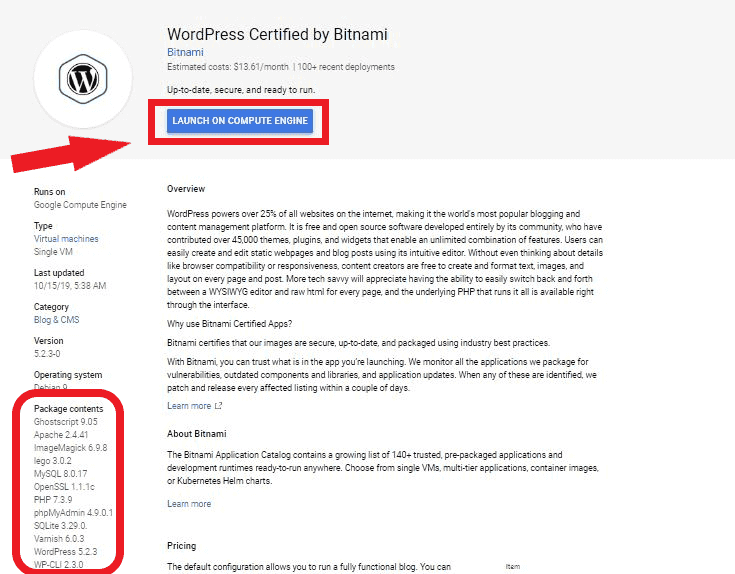
Go to Marketplace and scroll down to select WordPress Certified by Bitnami virtual machine
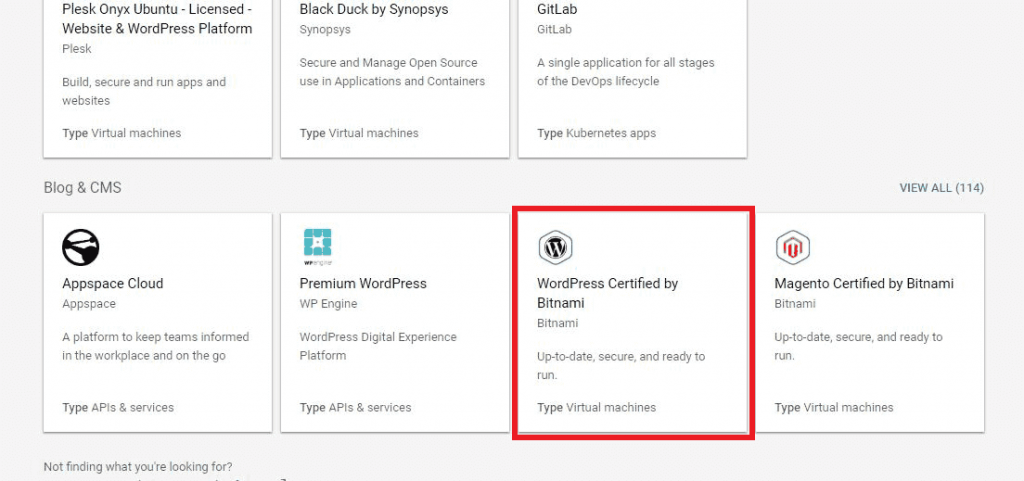
Bitnami WordPress comes with plenty of packages that are essential to typical WordPress themes. Let’s go ahead and click Launch on Compute Engine.
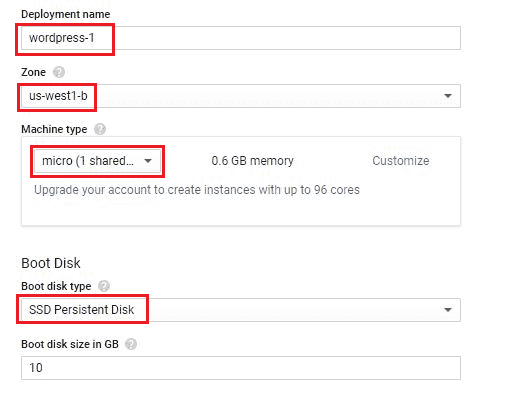
Ok, now we are going to set up deployment details. Please use the following values to fill in the details.
- Deployment Name – wordPress-1
- Zone – us-west1-b
- Machine Type – micro (1 shared vCPU)
- Boot disk type – SDD Persistent Disk
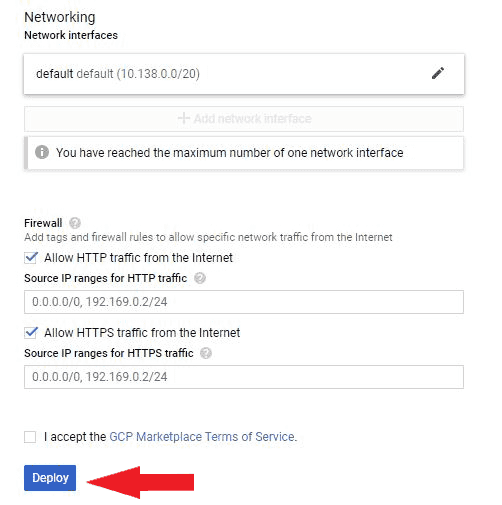
Keep default values for other fields and click the Deploy button.
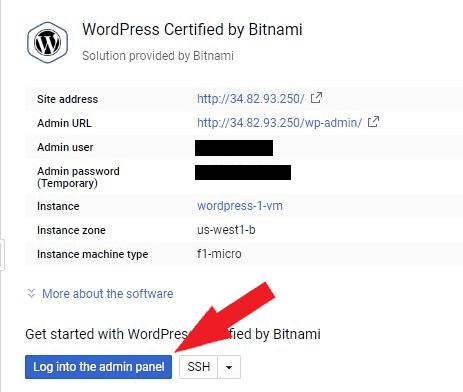
Now we have a new WordPress website. You can see the site IP address, user name, and admin password.
OK… what are you waiting for? Let’s log into the admin panel.
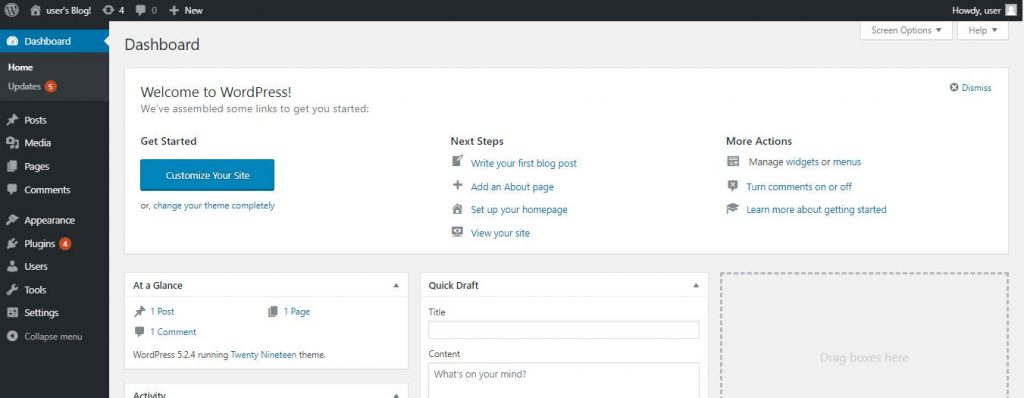
This is your WordPress admin panel. In addition, we hope to discuss WordPress customization in the future. For now, you can simply go through the dashboard and understand.
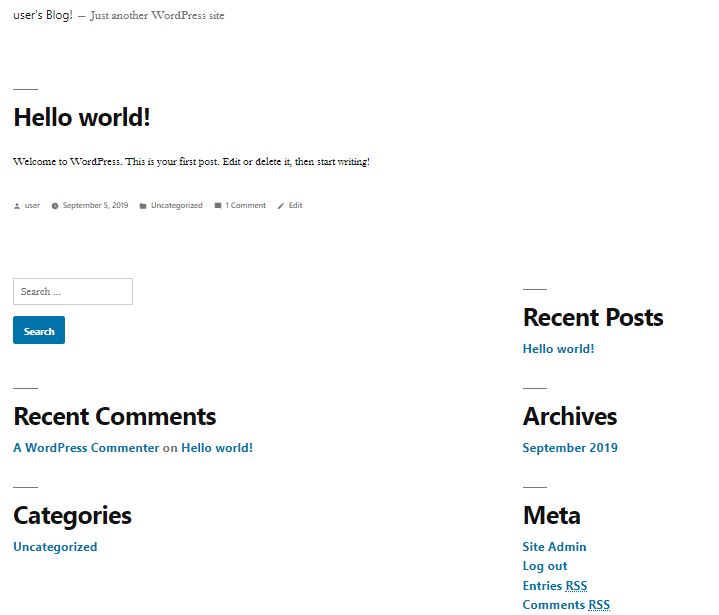
Finally, this is your brand new website. Using very few steps we launch our very first WordPress website. In future lessons, we hope to discuss WordPress customization and the best WordPress themes for blogging.
Hope you learn something, So don’t wait and start your blog today.
And don’t forget to share your experience with the Google cloud platform in the comment section.

10 Essential WordPress Plugins for your Blog

Free WordPress Hosting On Google Cloud Platform


